How to Make Mochi - Japanese Rice Cake Dessert {Recipe}
When I heard that we can make homemade Mocchi (Japanese Rice Cake) or Japanese Mooncakes, I took the opportunity to attend another workshop that was funded by the Vancouver Foundation Neighbourhood Small Grants with a few parents/moms I've met in the community.
This was so easy to make with simple ingredients. All it is the preparation time that takes a while. If you're not familiar what this dessert is, it's a glutinous rice ball with sweet filling in the center. You can use moulds to make cute shapes or just roll into a ball. Here is the recipe below on how to make Mochi (Japanese Rice Cake). This yields about a few dozen pieces.
INGREDIENTS:
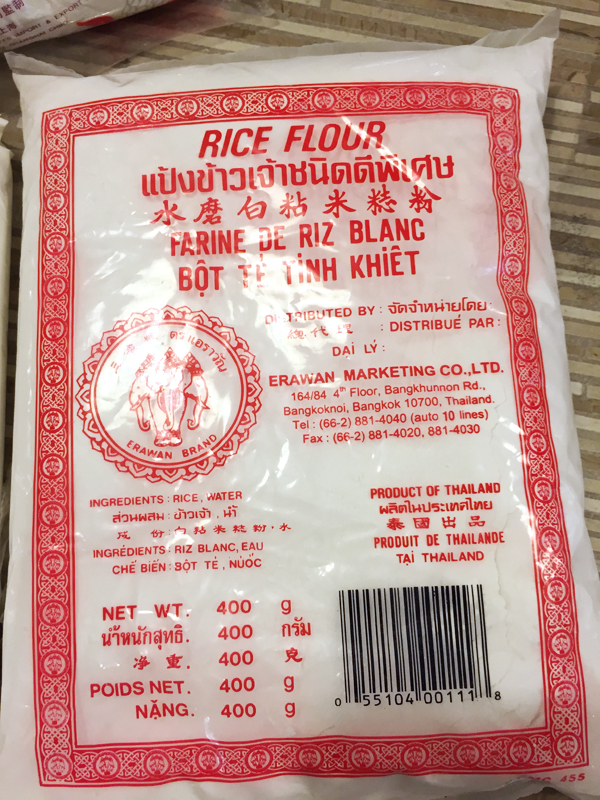
50g rice flour
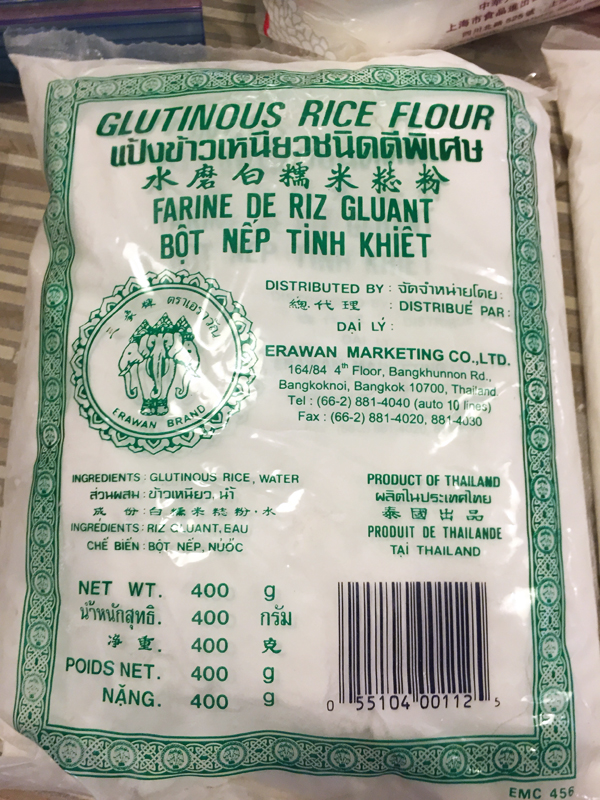
50g glutinous rice flour
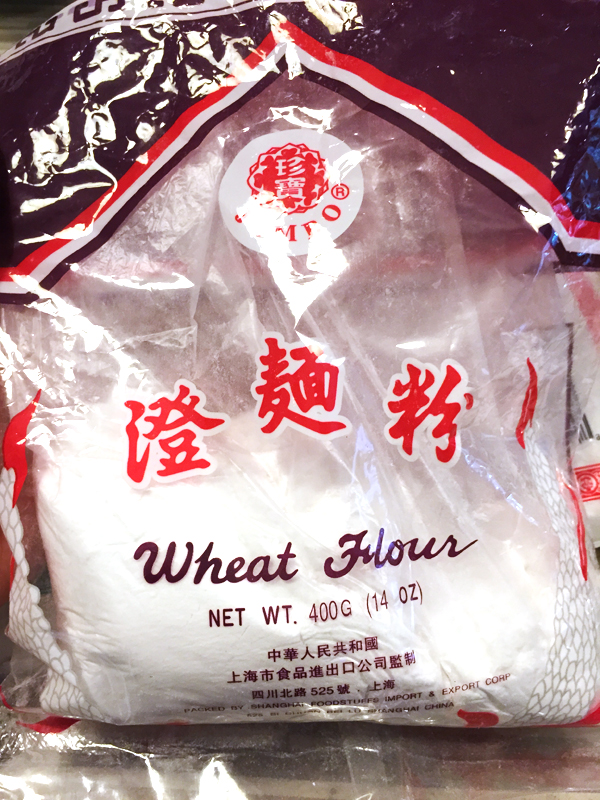
30g wheat flour
50g sugar
230mL Milk (3.25%mf homo milk)
PREPARATION:
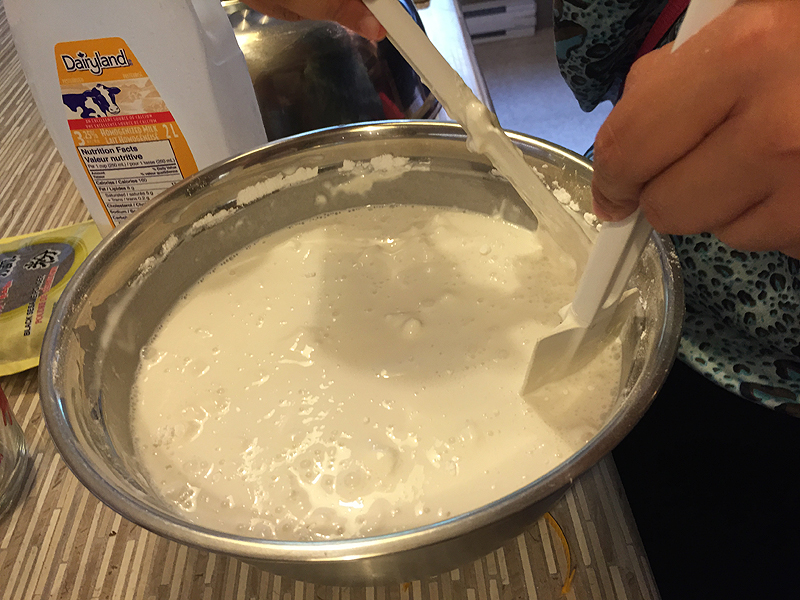
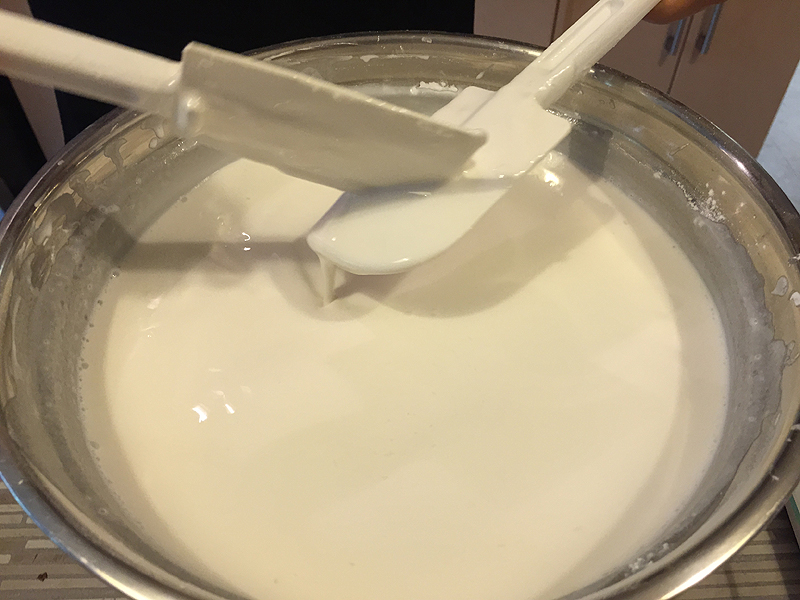
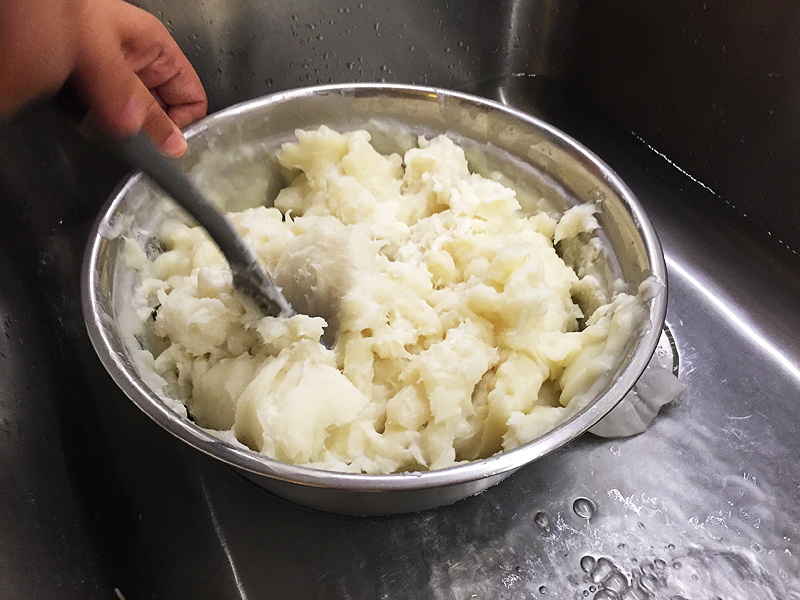
Mix the dry ingredients (rice flour, glutinous rice flour, wheat flour, and sugar in a large silver bowl. Then add milk and stir until smooth.
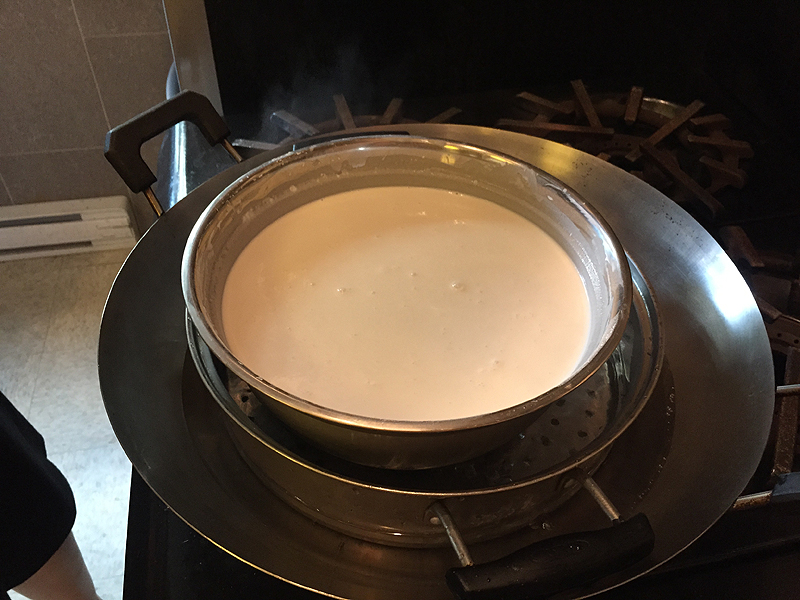
Cook the flour mixture in a double boiler or in a large pot of boiling water. Stirring occasionally. There will be clumps so keep stirring until the mixture becomes a thick paste. The clumps are the parts that are cooked.
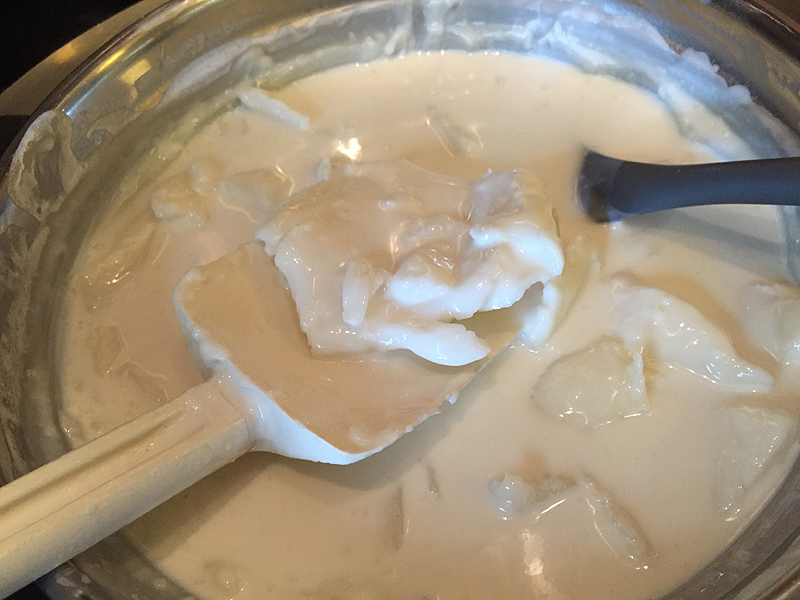
Once fully cooked, remove from double boiler and set the bowl in cold water to let cool down. Stir until it is even.
PREPARE THE FILLING:
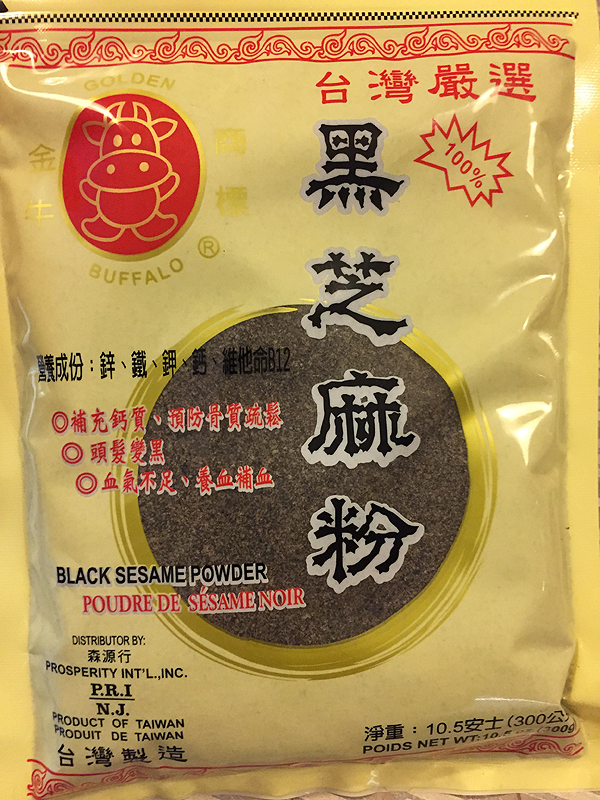
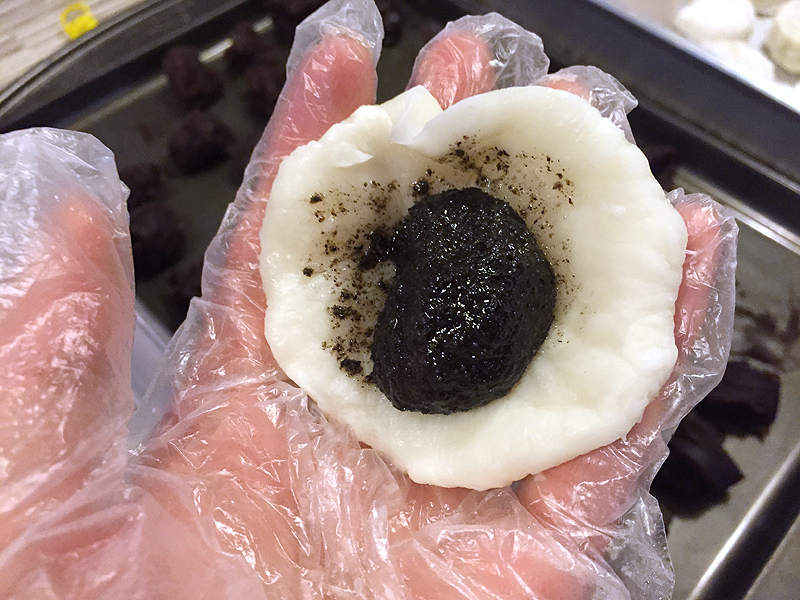
Any type of sweet, starchy filling can be used. We used sweet potatoes, red bean paste, and black sesame paste. With the black sesame powder package (pictured below), we mixed some oil and sugar to create a paste. Other fillings you can also be yams, purple yams, sweetened taro, etc.

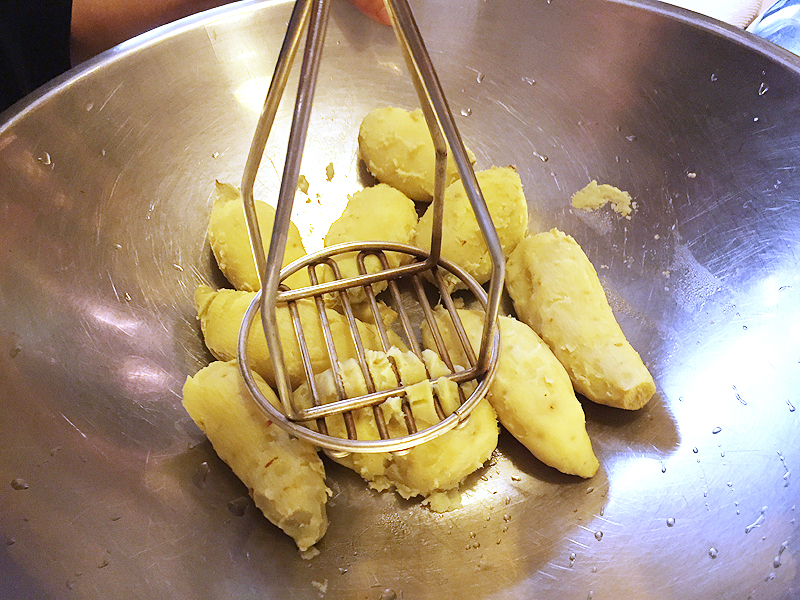
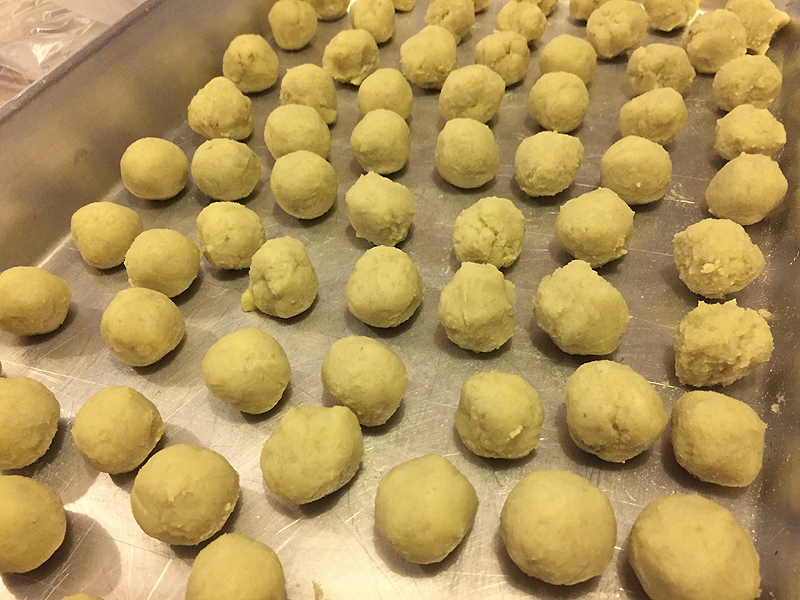
Mash sweet potatoes with potato masher to form a paste.
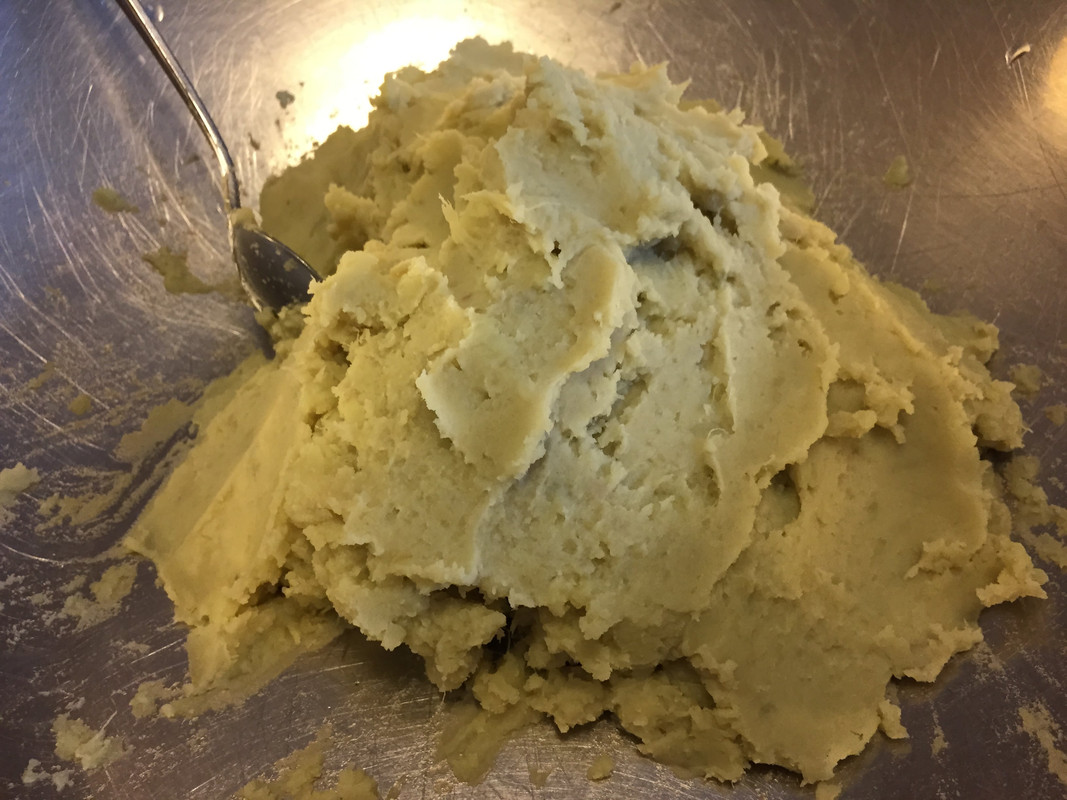
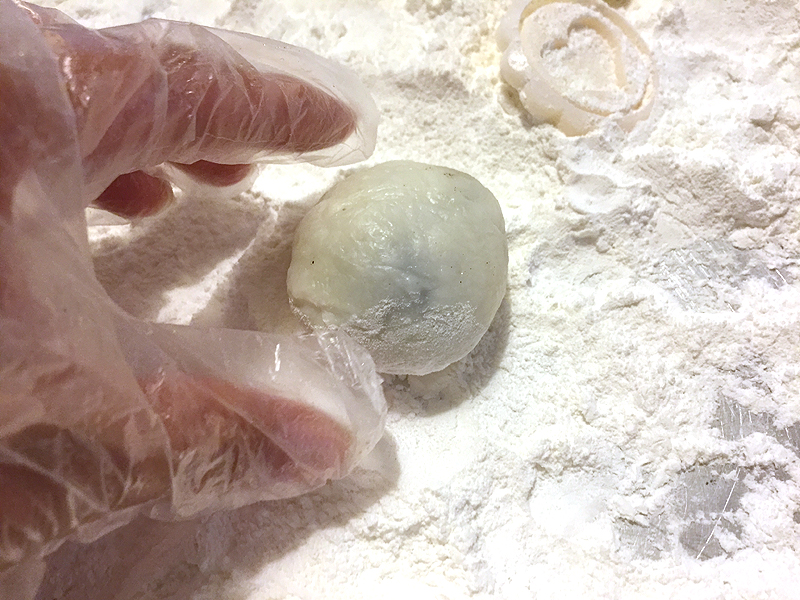
Then scoop a small amount and make into approximately 2-3cm balls. I recommend wearing plastic gloves or put vegetable oil on your hands first because it will get really sticky and messy.
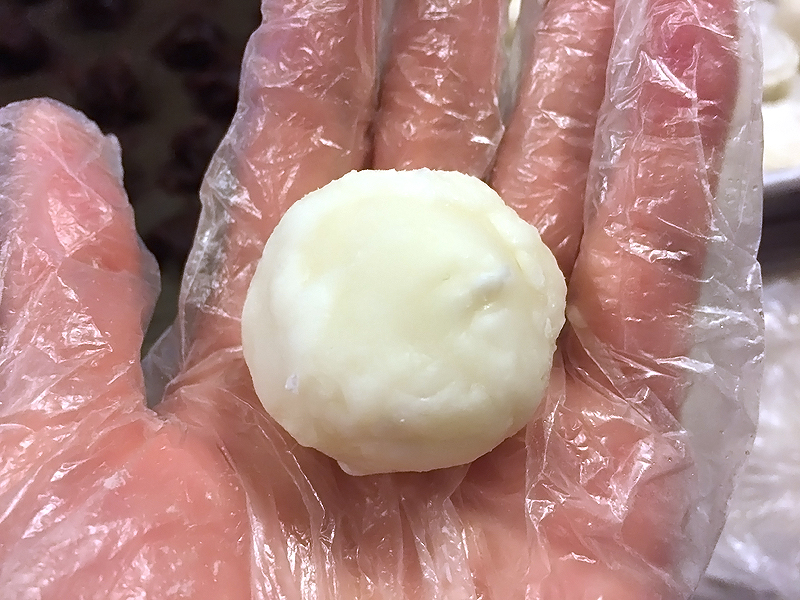
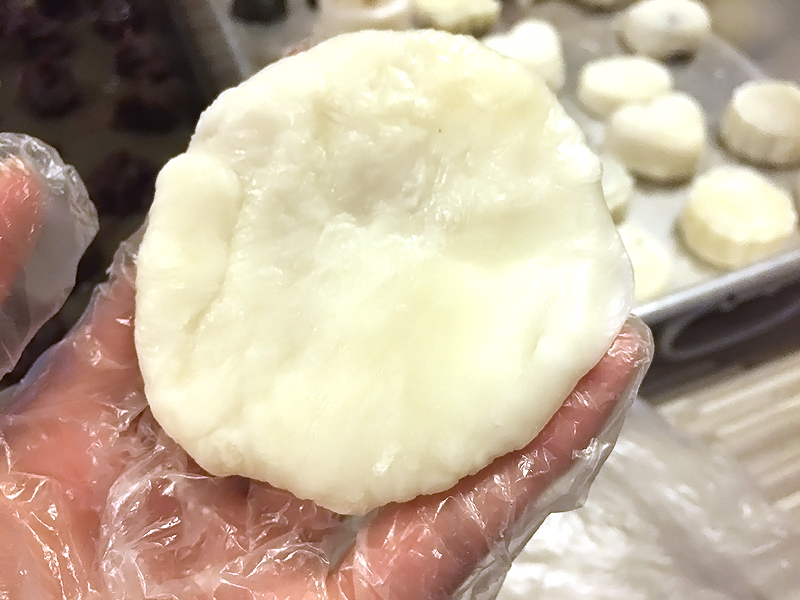
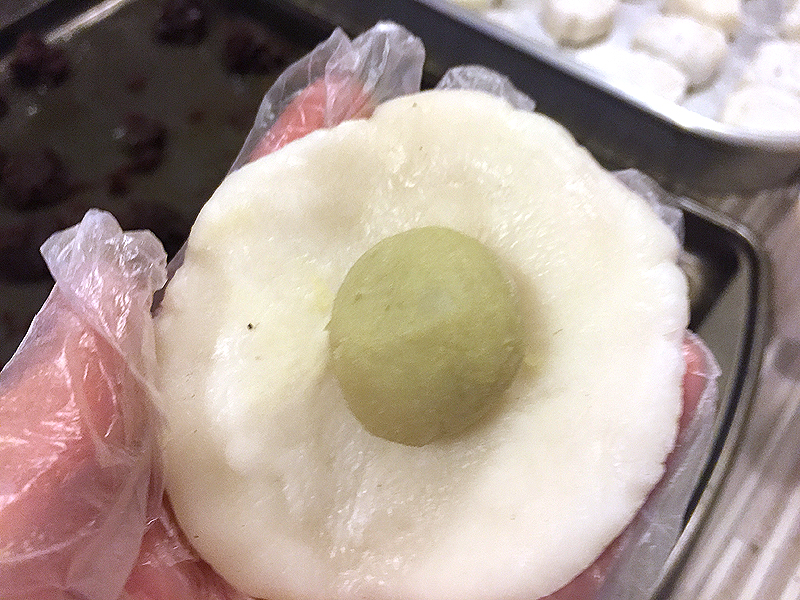
Once the paste/dough is cooled, scoop about a golf ball sized amount, roll into a ball and flatten with fingers.
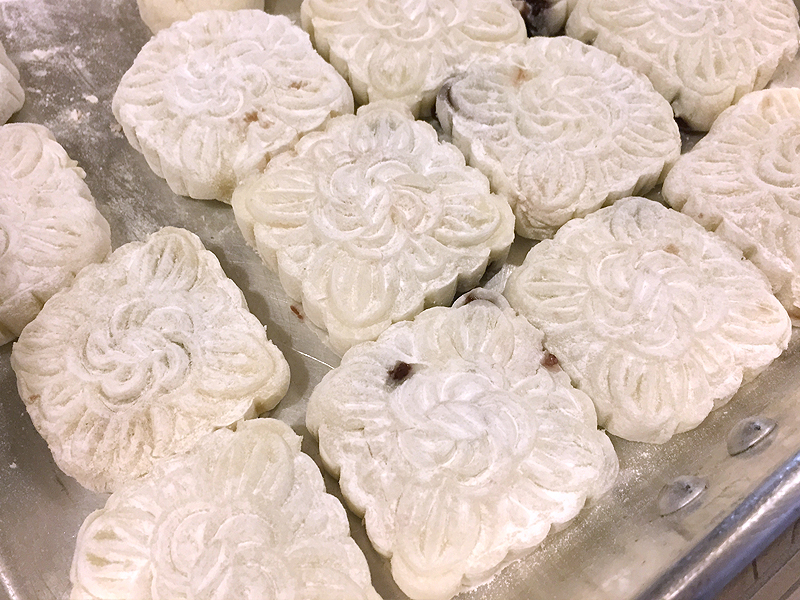
After flattening the dough, place the filling in center and seal it, making sure there are no holes or leakage. Then roll the ball in flour to prevent it from sticking. Slightly panfry the flour first.
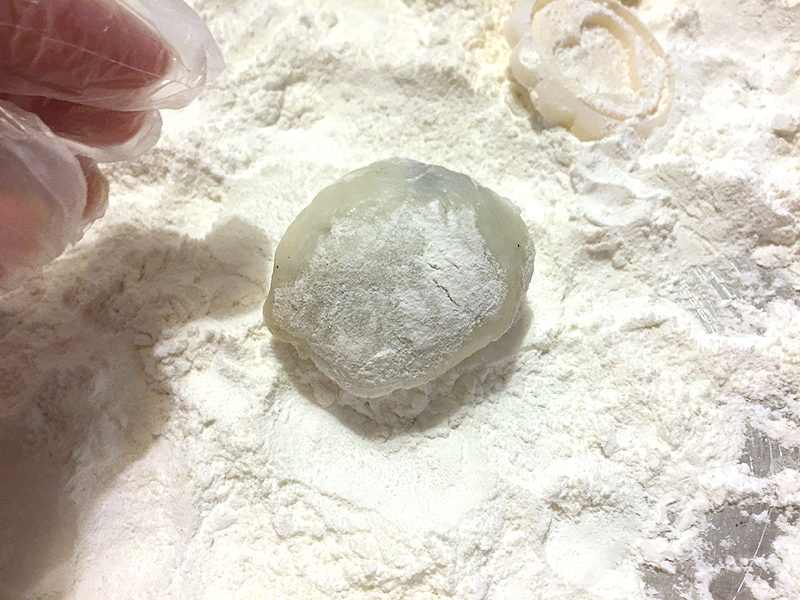
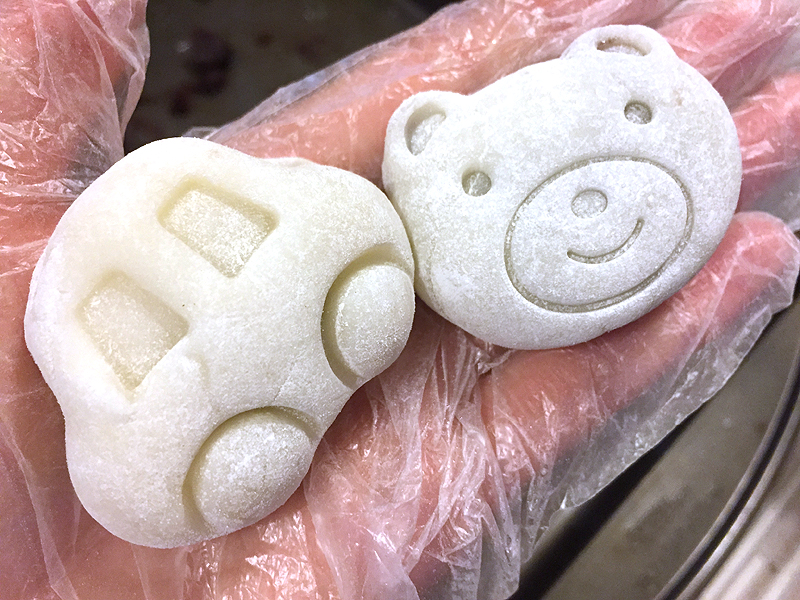
Then place into the mould and press into shapes. When done, it is ready to be served.
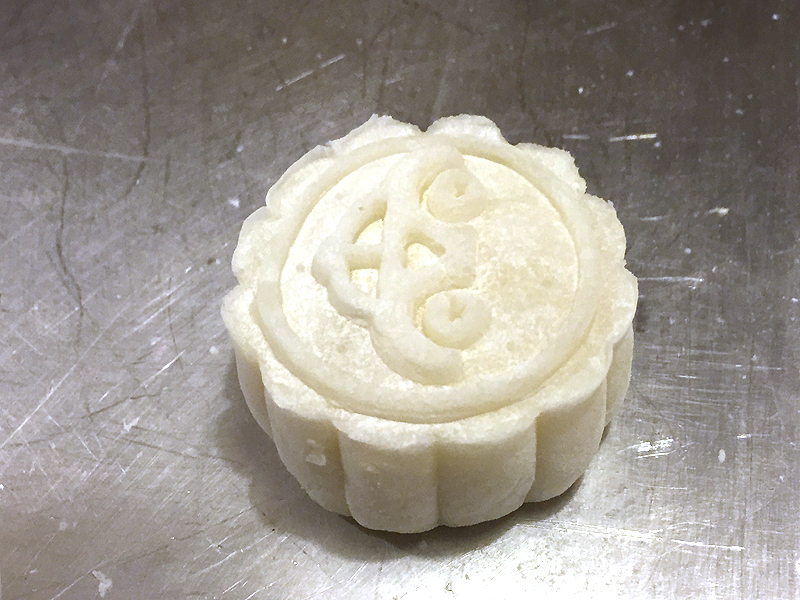

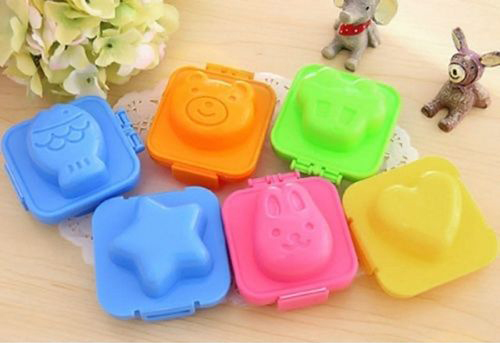
We used these cute moulds to make the cute designs and shapes:
This was so easy to make with simple ingredients. All it is the preparation time that takes a while. If you're not familiar what this dessert is, it's a glutinous rice ball with sweet filling in the center. You can use moulds to make cute shapes or just roll into a ball. Here is the recipe below on how to make Mochi (Japanese Rice Cake). This yields about a few dozen pieces.
INGREDIENTS:
50g rice flour
50g glutinous rice flour
30g wheat flour
50g sugar
230mL Milk (3.25%mf homo milk)
PREPARATION:
Mix the dry ingredients (rice flour, glutinous rice flour, wheat flour, and sugar in a large silver bowl. Then add milk and stir until smooth.
Cook the flour mixture in a double boiler or in a large pot of boiling water. Stirring occasionally. There will be clumps so keep stirring until the mixture becomes a thick paste. The clumps are the parts that are cooked.
Once fully cooked, remove from double boiler and set the bowl in cold water to let cool down. Stir until it is even.
PREPARE THE FILLING:
Any type of sweet, starchy filling can be used. We used sweet potatoes, red bean paste, and black sesame paste. With the black sesame powder package (pictured below), we mixed some oil and sugar to create a paste. Other fillings you can also be yams, purple yams, sweetened taro, etc.
Mash sweet potatoes with potato masher to form a paste.
Then scoop a small amount and make into approximately 2-3cm balls. I recommend wearing plastic gloves or put vegetable oil on your hands first because it will get really sticky and messy.
Once the paste/dough is cooled, scoop about a golf ball sized amount, roll into a ball and flatten with fingers.
After flattening the dough, place the filling in center and seal it, making sure there are no holes or leakage. Then roll the ball in flour to prevent it from sticking. Slightly panfry the flour first.
Then place into the mould and press into shapes. When done, it is ready to be served.
We used these cute moulds to make the cute designs and shapes:


Hi Jen! Cute! Where did you get those molds? I clicked on the link but it didn't lead me to the product. Thank you!
ReplyDelete